Install the jar
- Save or upload the WebAuctionPlus-1.x.x.jar into the plugins folder of your bukkit server.
Add permission nodes
- If you haven't already, add the permission nodes to your favorite permissions plugin, or set yourself as op.
Start bukkit
- Start your bukkit server. The plugin will create the plugins\WebAuctionPlus folder if it doesn't exist. Inside this folder, you'll find the config.yml file. When the plugin loads with the default config.yml, it will fail to load and disable most features until you complete the next few steps below.
Edit config.yml
- Edit config.yml in notepad or your favorite text editor. Lower down on this page, you'll find descriptions of what each line in this file does, but for now, just fill in the settings for MySQL. Host is usually set to localhost, unless you're using a remote database. If you are using a remote database, you'll have to add the host name or ip address of your bukkit server to that database server as an allowed remote host. I recommend running your database server on the same server as bukkit itself. It's best to keep a very low latency on that connection. The website isn't as critical in this sense. You'll also have to set the username and password for your mysql connection, and set the name of your database.
Reload the Web Auction Plus plugin
- Restart your minecraft server to apply the changes you've made.
Upload the web files
- Inside the zip you originally downloaded, which contained the jar you've already installed, you'll also file a folder full of .php files and other folders. Upload this entire folder to your website. You'll probably use an ftp client to do this.
Edit config.php
- Among the php files you just uploaded to your website, you'll find the config.php file. Edit this file with notepad or your favorite text editor. Most of these mysql settings will be exactly the same as the ones you've previously set in config.yml. Both the website and the bukkit plugin must both connect to the same database. If your database server is on the same server as bukkit, and your website is a separate server, you'll have to set up the remote host permission in the opposite way as described above. The host name or ip address of your web server goes in the database on your bukkit server.
Try it out!
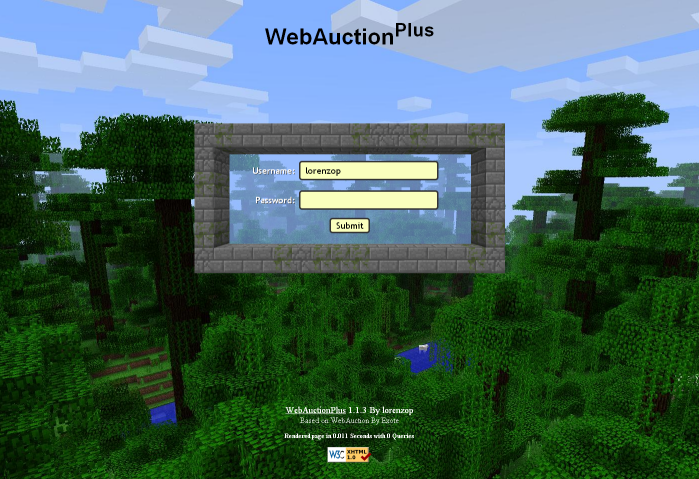
- You're done! Try using the command "/wa password somepassword" then log into the website using your minecraft username and the password you just set. Please note, this password can (and should) be different than the one you use to log into minecraft. And lastly, here are a few examples of the signs:
Updating WebAuctionPlus
Stop Bukkit/Spigot
- Always stop your Minecraft Server before updating any plugins.
Updating the jar
- Just overwrite the existing WebAuctionPlus jar in your plugin directory.
Start Bukkit/Spigot
- Start your Bukkit Server and wait until the plugin has updated the database
Upload the web files
- Inside the zip you originally downloaded, which contained the jar you've already installed, you'll also file a folder full of .php files and other folders. Upload this entire folder to your website and overwrite all existing files. You'll probably use an ftp client to do this.
Edit config.php
- Among the php files you just uploaded to your website, you'll find the config.php file. Edit this file with notepad or your favorite text editor. Most of these mysql settings will be exactly the same as the ones you've previously set in config.yml. Both the website and the bukkit plugin must both connect to the same database. If your database server is on the same server as bukkit, and your website is a separate server, you'll have to set up the remote host permission in the opposite way as described above. The host name or ip address of your web server goes in the database on your bukkit server.
Try it out!
- You're done! No data is lost if you follow the steps above.